After archiving and sun-setting our forums last year, we at Fencing.net have been combing through the archives to try and preserve and convert any of the old threads used as sources of information. One popular topic was “Installing a Home Fencing Piste” – a topic perhaps made more popular lately due to the COVID-19 situation keeping people at home a bit more often than normal. A lot was said on the topic, below is a high level summary on the findings and opinions turned up in that thread.
Space Requirements
First and foremost, if you want to install a piste or strip for at-home practice, your main limitation is going to be available space. If you are one of the rare people that happen to have an open, flat, continuous space that is roughly 18 meters by 4 meters – then you probably have enough space for an actual fencing strip. And if you have that much extra open space at home, you might also be able to afford one! For those keen-eyed, yes that is more space than a regulation strip requires; and this is because you need space for runoff, lateral space so that your blades don’t slam into the wall, and space for the strip itself to move a bit. We’d also recommend taller-than-normal ceilings to prevent poking holes or slamming a weapon against the ceiling.
Grounded Strips
If you happen to have this much space, you could buy a complete, pre-made strip and install it. There are some roll-out conductive fabric strips that are easy to roll back up and store when not in use. There are also some interlocking aluminum strips that are still portable, but less convenient, that can be broken apart for storage. If you go with the aluminum strips and have a floor you care about, we’d definitely suggest rolling out some carpet or other padding to place the strip on top of.
If you’re very dedicated, you can build a more permanent strip installation. Check out our article on building a DIY grounded fencing strip here.
Non-Grounded Strips
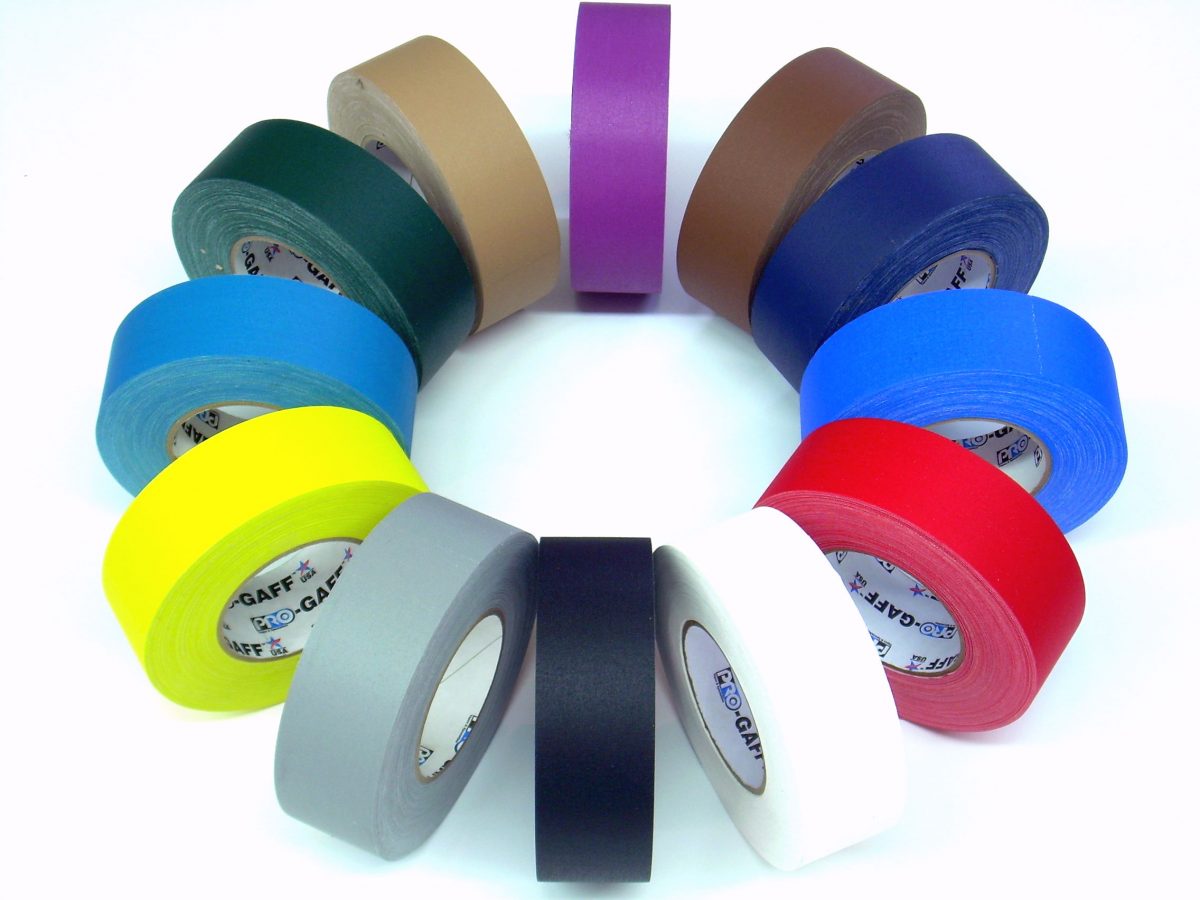
This option is much easier. On the very easiest end, all you really need is for the space to be clear and marked. You can achieve this by painter’s tape or something similar. Just lay down some tape in the shape of a strip, and viola! A usable fencing strip.
If you’d like to take it to the next level, we’d suggest investigating these faux wood padded mats. Assembling a 24×2 (48 squares total) version of this mat would give you a full length strip with a somewhat realistic top and padding to protect your knees/feet. You can also enhance this by buying a few more squares and lining the strip with a different color or material. That’ll give the strip clear boundaries and make it harder to slide around – if you have the space of course!
There are also interlocking sports tiles that could provide you with an even better experience, but these start to get very expensive. You’ve probably seen tiles like this in a rec center basketball court. If you’re interested in this as an option, there are a number of vendors out there that could provide you with good quotes, and some of them even sell used tiles at a discount.
Short Length Strips
Short length strips, AKA “shorty strips” are also an option if you don’t have a full 14+ continuous amount of space. Any of the options above would work for a shorty strip, just understand that if you do have a severely shortened strip, you might not want to do anything more than basic training on it, as strip positional awareness is an important skill to have, and it is made difficult if you train on strips of various sizes.
And as always, if you’re unsure, its always a good idea to ask your fencing coach for their opinion!


